A race to the finish (again!)


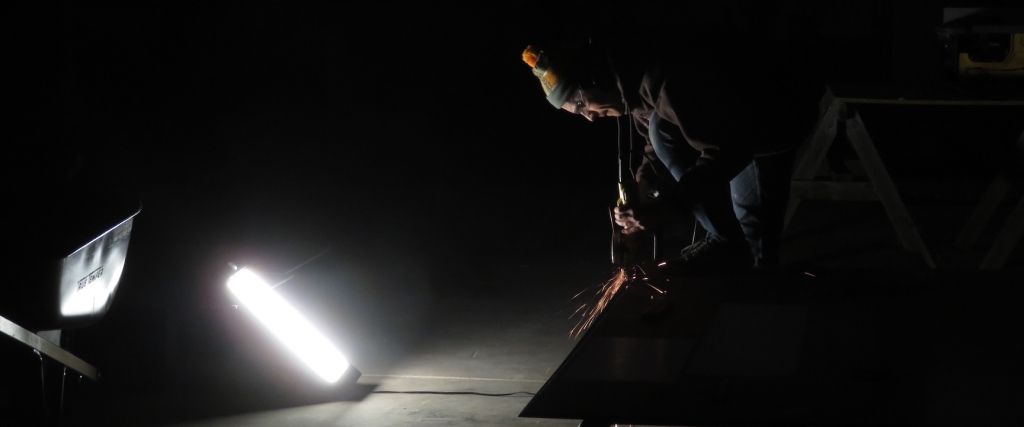
When we first reached out to the University of Arizona Facilities Management Electrical Services, Fire Safety & Prevention Assistant Director Joseph Branaum for guidance on how to design and install the fire detection system at SAM, we were concerned that the unique nature of our research facility might invoke a high degree of scrutiny. While the vessel is built from steel, aluminum, and glass with very limited flammable materials inside, the fact that four people will be sealed inside with pressure hatches as exits could have raised alarm.
 The first two teams to SAM will each have one blind crew member. This elevates the need for our fire detection and alarm system, beyond off-the-shelf, battery powered smoke detectors available from local resellers. Instead, SAM must integrate a fully networked, computer controlled system that raises audible and visual alarms across the habitat should any of the heat or smoke detectors be triggered. Furthermore, each exit must have an illuminated sign in the case of a power outage. We are taking that one step further, to make certain that each pressure hatch is fully lit with power loss, such that crew members can readily assist each other in egress, emergency or not.
Joe visited SAM in February and immediately recognized the need for a fire detection system that met the University safety guidelines and upheld the need for SAM to closely approximate an actual, other-world habitat. He designed a system that meets code and serves our needs.
 What’s more, the entire system will be upgraded later in 2023 to include active data generation and capture for real-time temperature, humidity, and air quality, then integrated into the SIMOC Live terminal at SAM, thereby elevating the SAM analog experience even closer to that of a real habitat while further informing the SIMOC model.
Joe and his associate Matt have guided the complex wiring of this system, and will return to SAM for the final installation of the pull stations, A/V units, and detectors. Thank you Joe and Matt for your patience with our 100+ questions, phone calls, text messages, and emails.
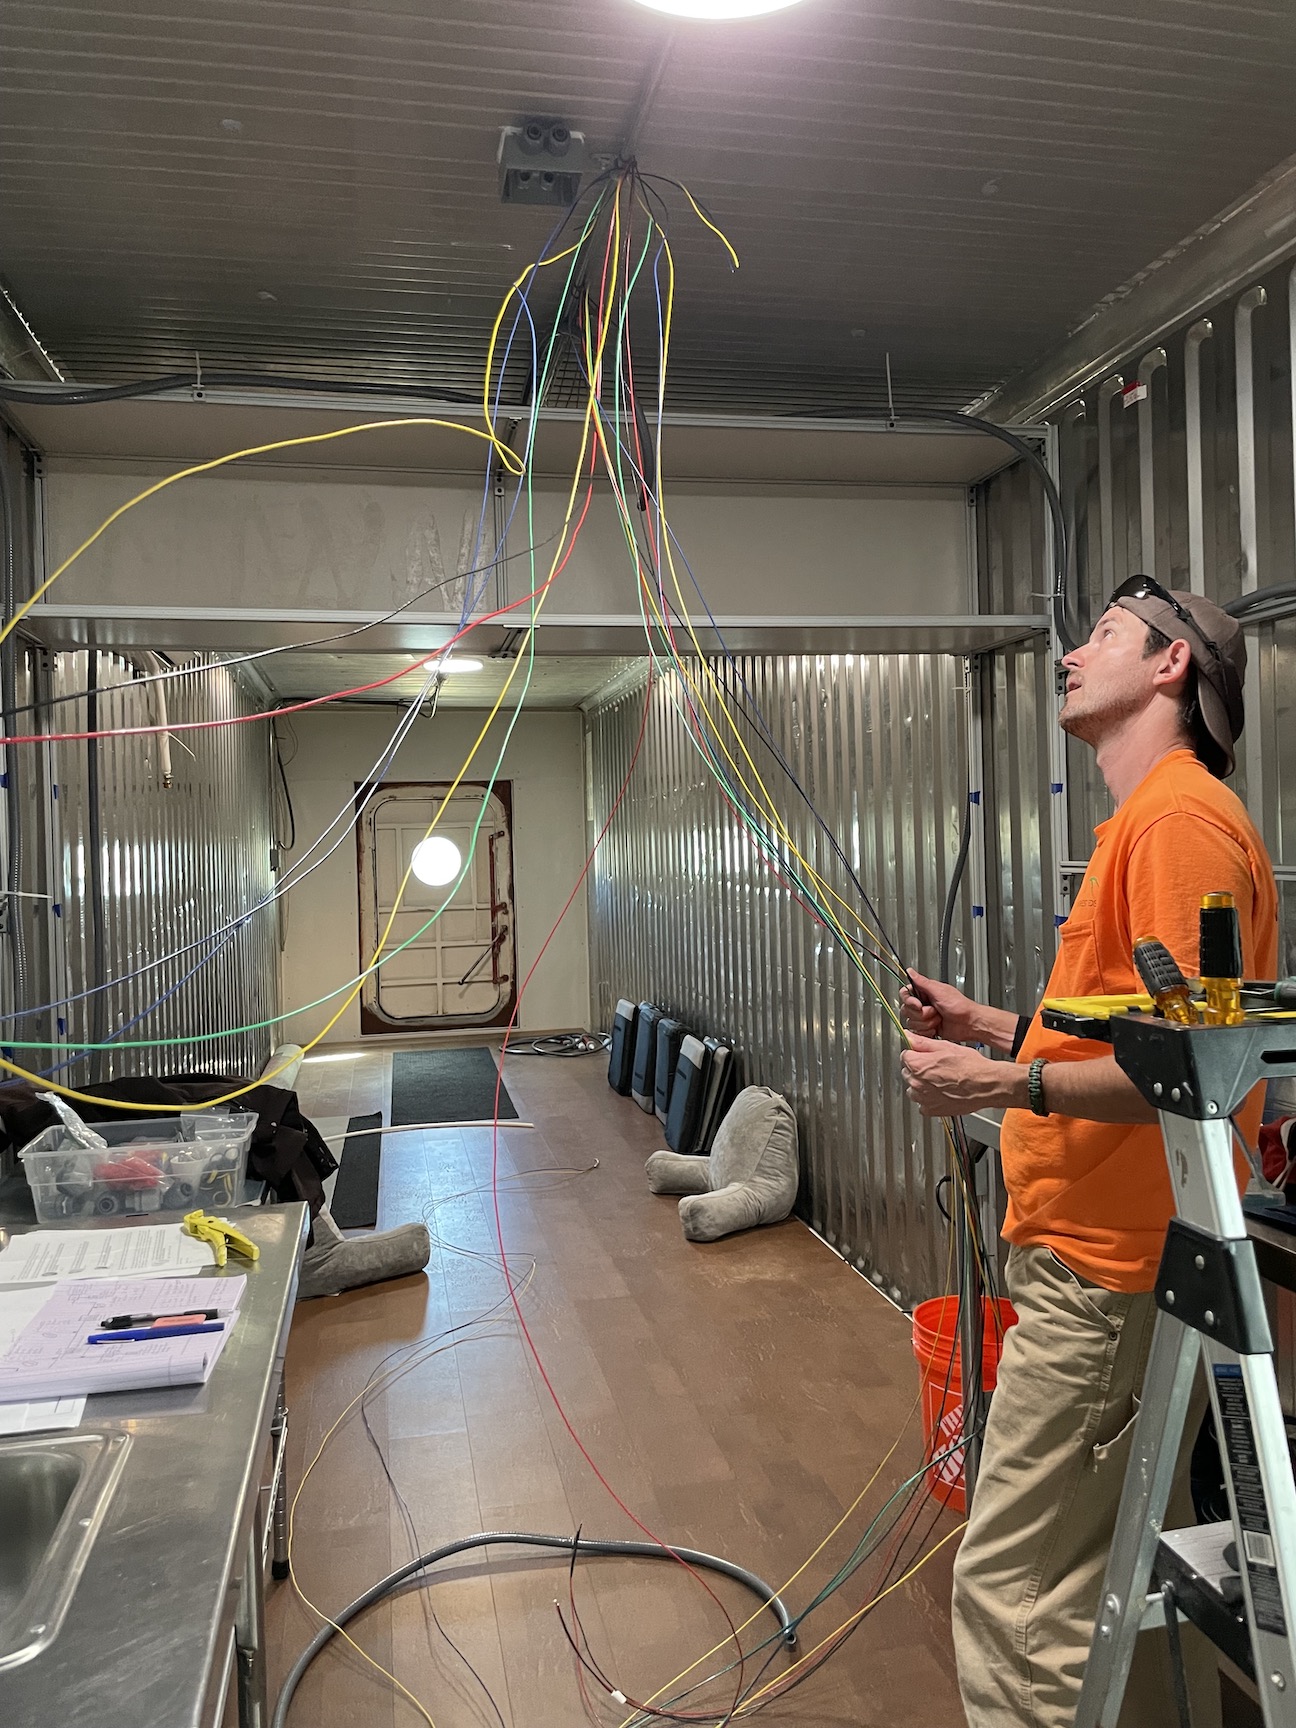
Today we completed the electrical wiring of SAM, with the Workshop (20′) and Crew Quarters (40′) fully lit up and operational. We also conducted our first pressure test since January, and with the new 1HP Variable Frequency Drive. We can now bring SAM from ambient to full pressure in just under 3 minutes, a 4x speed increase over the original, 1980s blower which is now replaced.
This is a noteworthy and exciting day, for it marks months of sequential work come to fruition.


[description coming soon]


 There are those simple devices that defy the mindless trend toward smaller, smarter, and digital. The phonograph is back to stay, with more vinyl records being produced today than at any time history. A good pocket knife is an indispensable tool for anyone who lives and works outdoors. And the harmonica is a light, portable instrument able to warm the hearts of all who listen or sing along — without batteries, USB, WiFi, or Siri selling your private conversation to the highest bidder. They just work.
 The analog pressure gauge is a simple, elegant, analog instrument. It will function for a hundred years or more, providing reliable data with little potential for failure.
At SAM, visitors both inside and out must know, without a doubt, if the vessel is under pressure. For those on the outside, opening the hatch while under pressure could mean getting catapulted across the Mars yard, or worse. For those on the inside, a rapid depressurization should only be conducted in the case of an emergency and need for immediate egress.
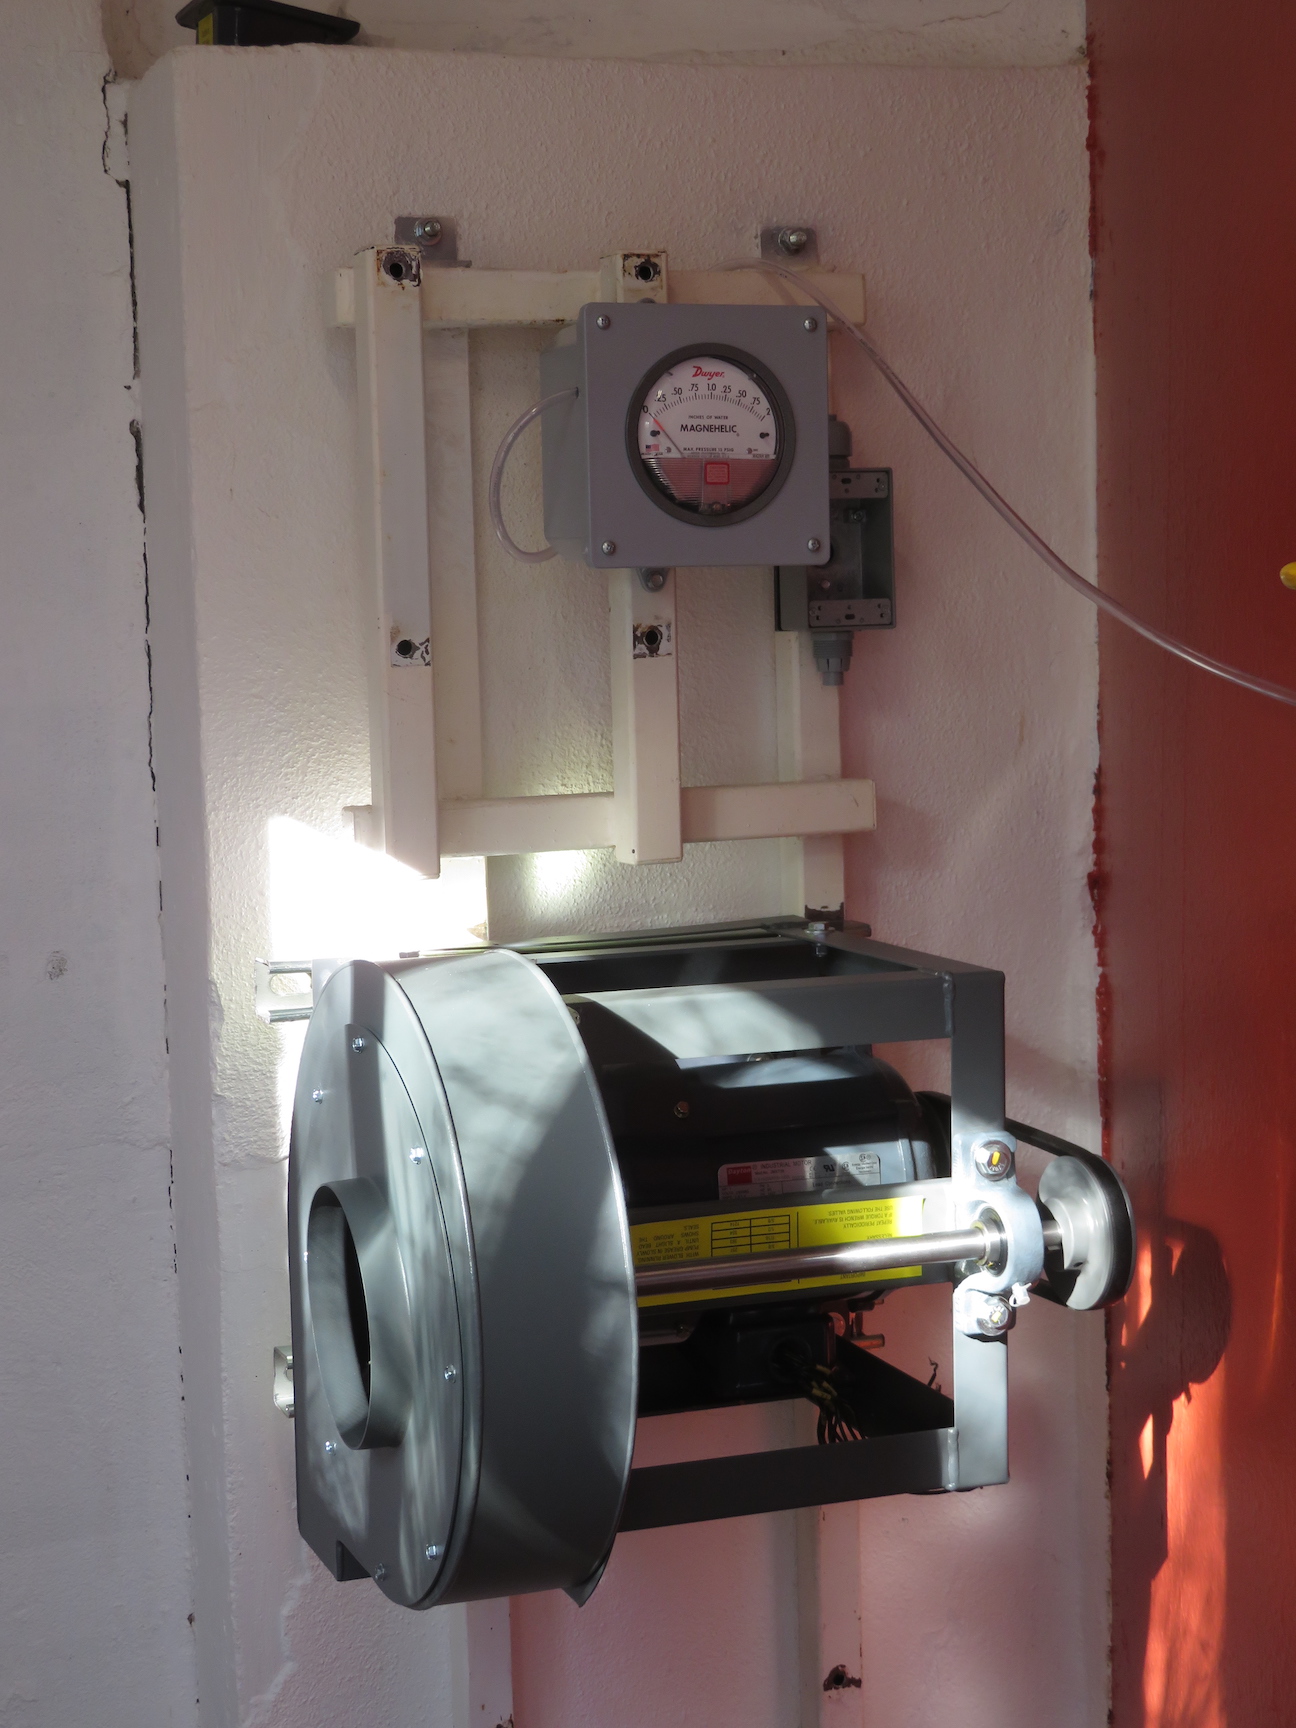
 This particular Dwyer Magnehelic was selected for its 0-2 inches of water callibration, giving the highest accuracy for the maximum of 0.05 PSI over ambient pressure differential at SAM. We liked it so much, we installed five (for now): inside and outside the Test Module emergency exit; inside the exterior airlock door, inside the SAM Air Intake Room (AIR) just above the new blower, and on a new instrument wall on the interior wall of the lower SAM lung.
No matter which room a crew member occupies, the pressure will be visibly displayed. And for those visiting from the outside, a quick look to the large interface will make it clear if it is safe to enter.
 In early 2023 the SAM project received its first round of funding dedicated to the renovation of the former Biosphere 2 rain forest greenhouse into a 6,400 sq-ft indoors Mars yard. The University of Arizona center for Research, Innovation, and Impact (RII) sees significant value in the creation of an advanced Mars yard, a place for education, research, and innovation.
Significant prior effort had been applied, from initial destruction of adjacent structures to tearing down the old roof panels; from work on the exterior walls to installing a new roof.
Now, we are continuing to renovate the structure, starting at the foundation walls. Once complete, we can design our first basic layout, install basalt left over from the LEO project, and place varied boulders (even if not igneous based) to form a terrain park for our first, visiting research teams.
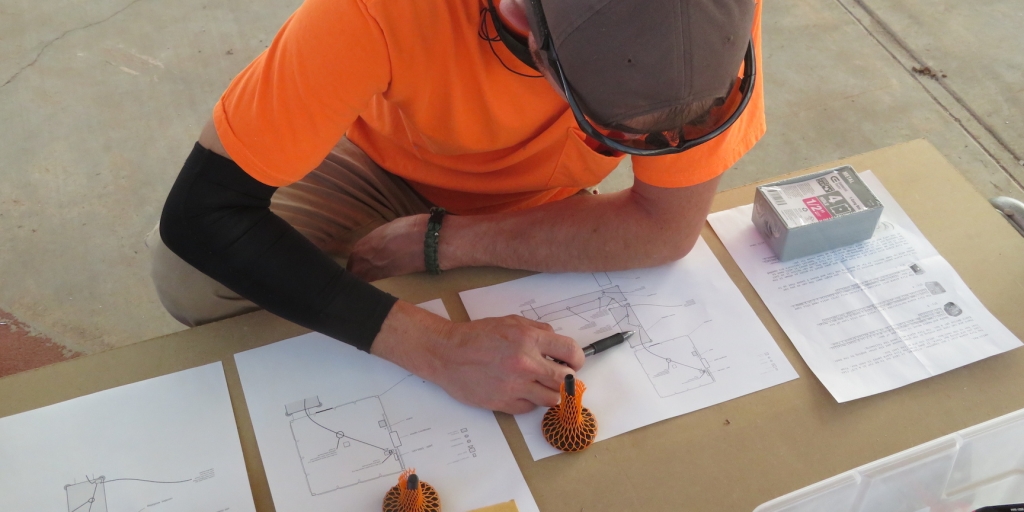
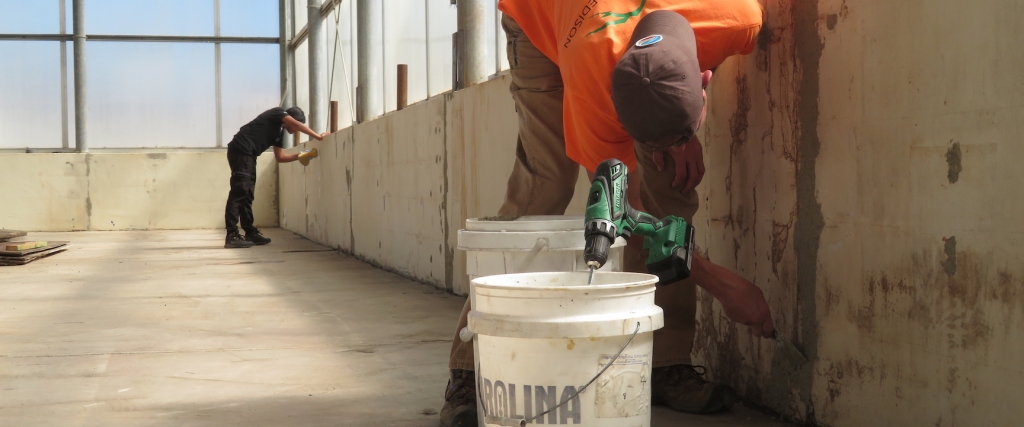
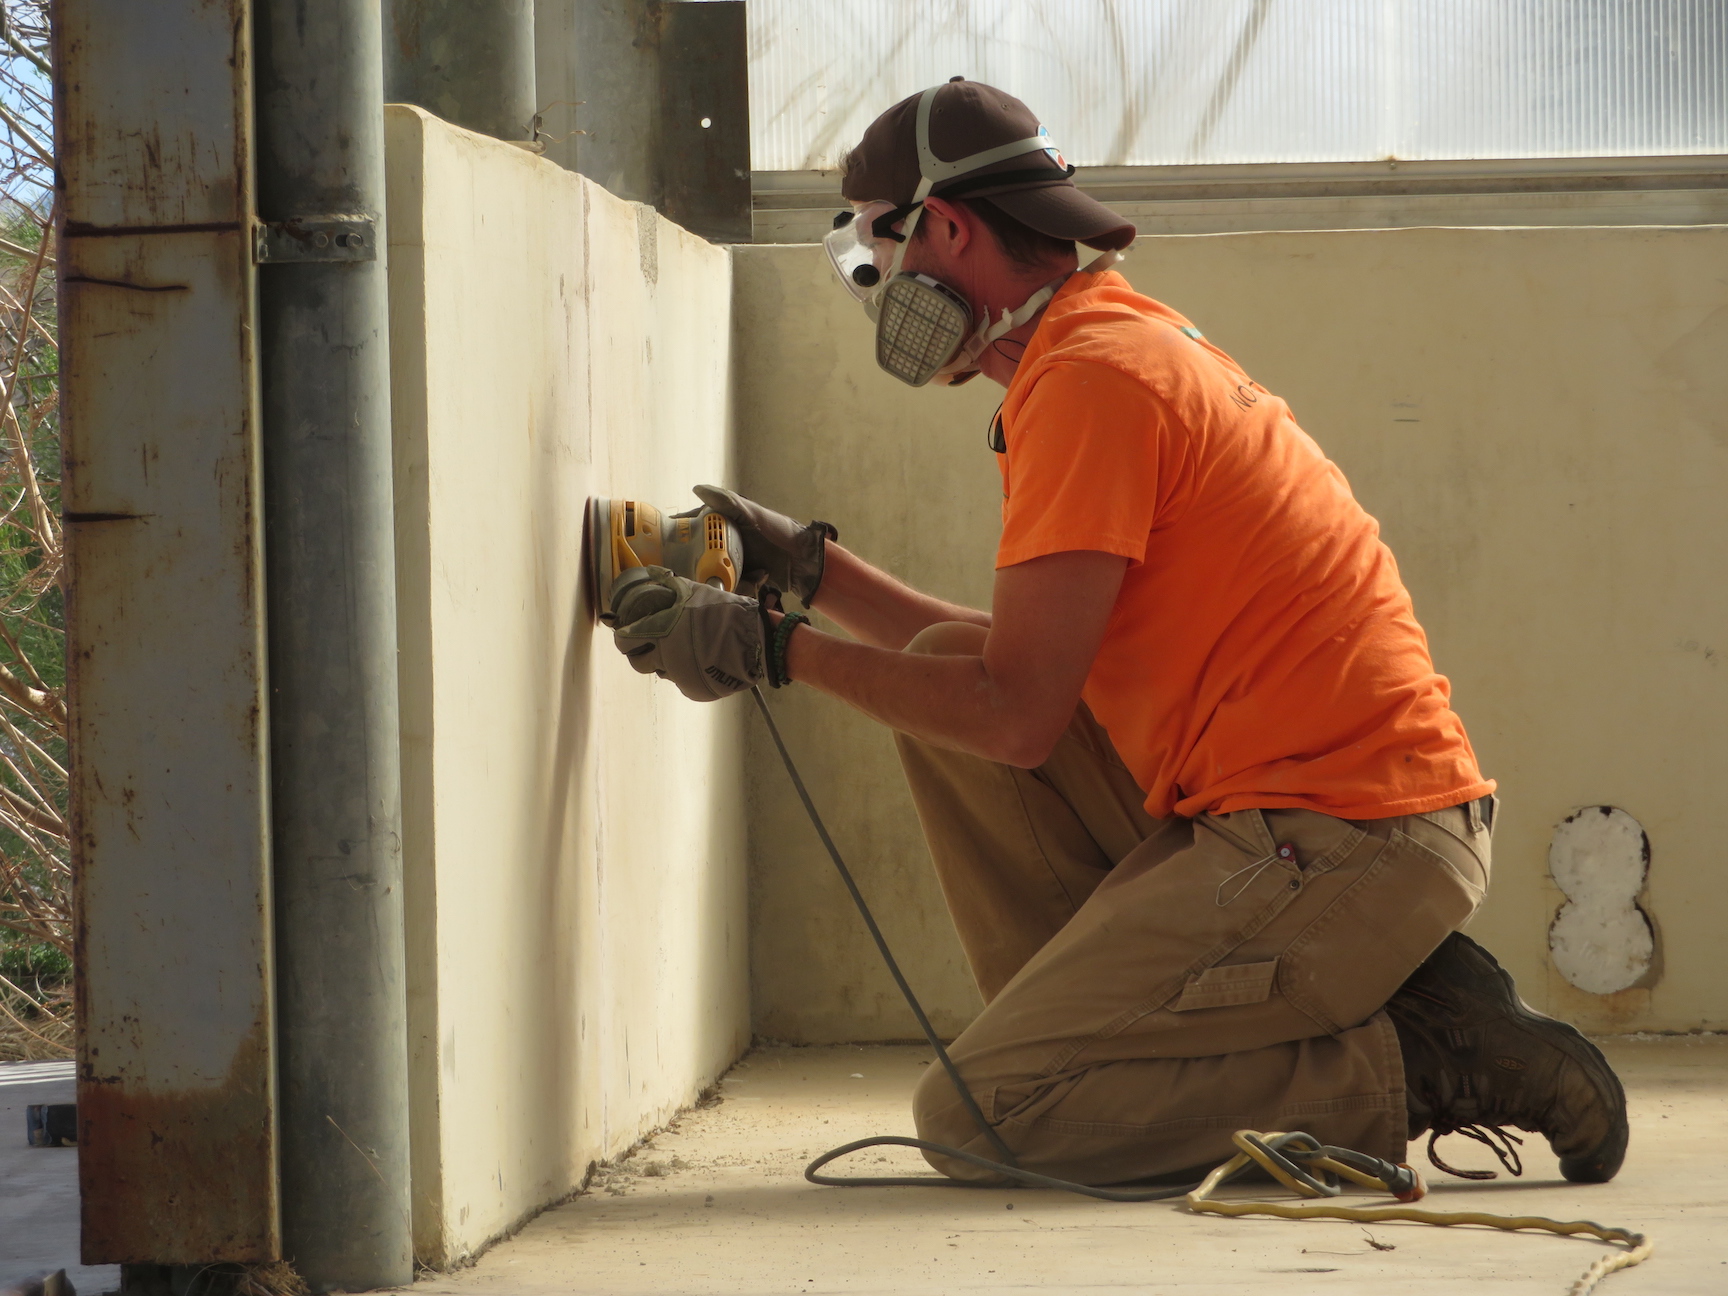
 In parallel, fabrication of the interior of SAM continues, with immediate focus on completing the electrical panel, UA approved smoke and fire detection system, and routing conduit and circuits to the bathroom, kitchen, and crew quarters.
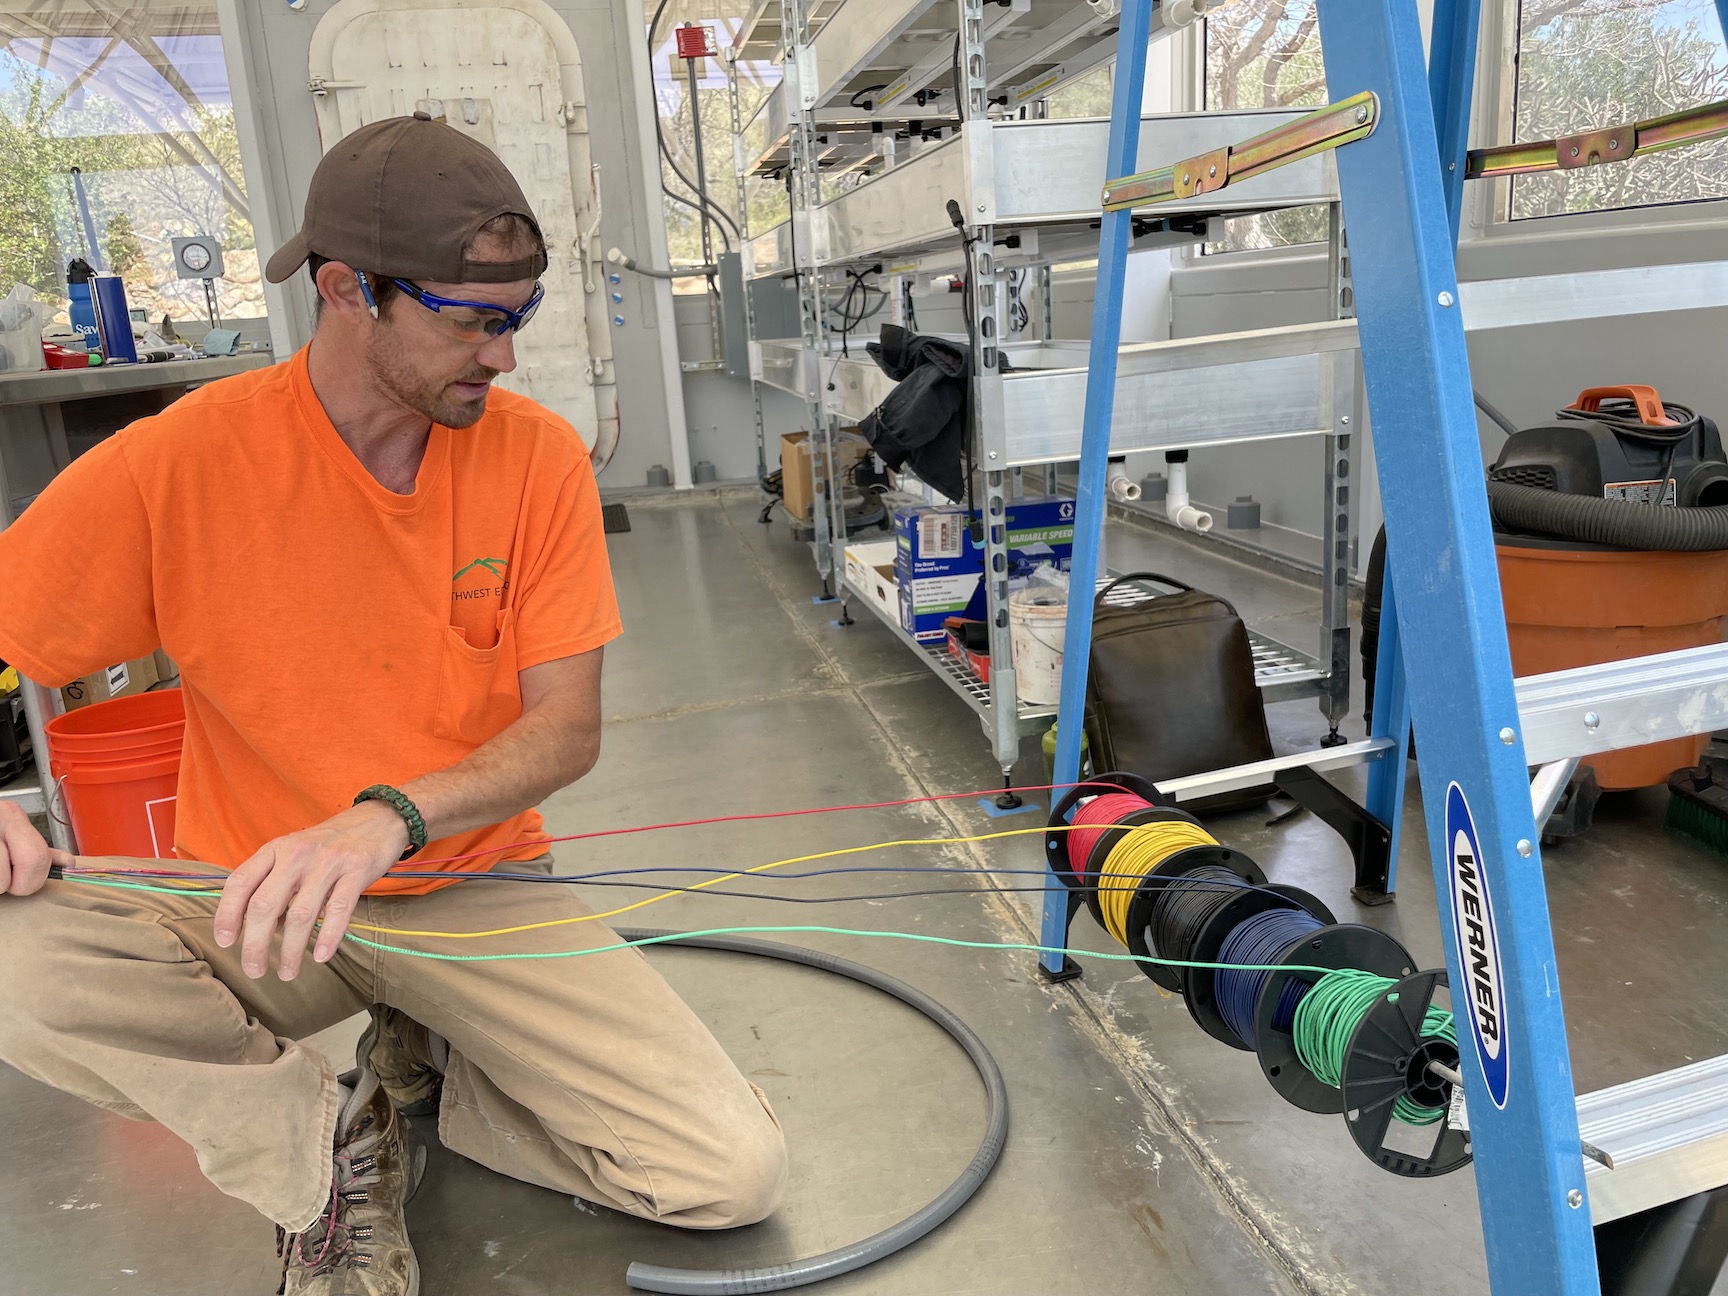
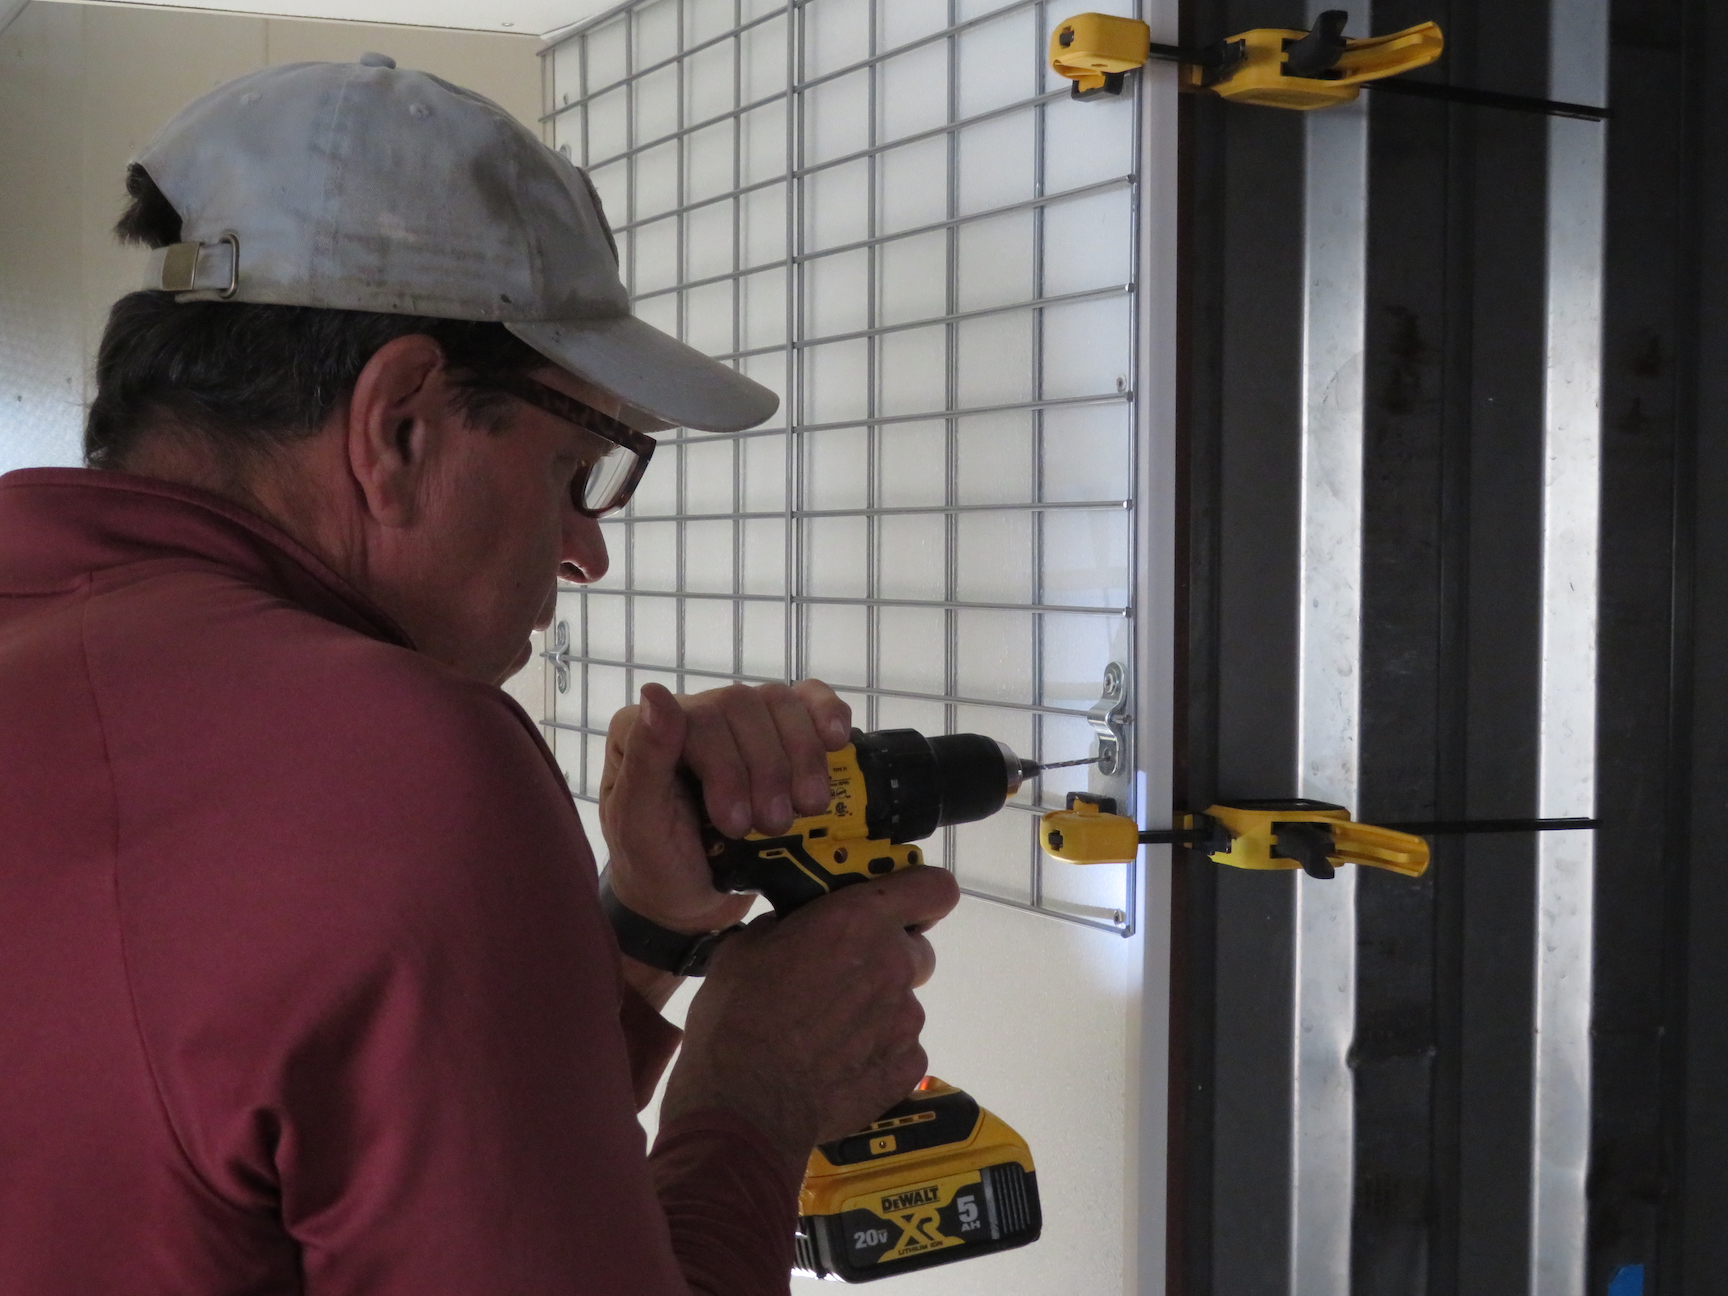 In order to bring power into the renovated 40′ shipping container, we must route Carflex conduit through one of two pressure hull bridges. This invokes a bottle neck as this is a passage the crew will use regularly as they move from the crew quarters into the workshop and subsequent Test Module (controlled environment for plant growth). As such, it is imperative that the conduit be non-intrusive and secured.
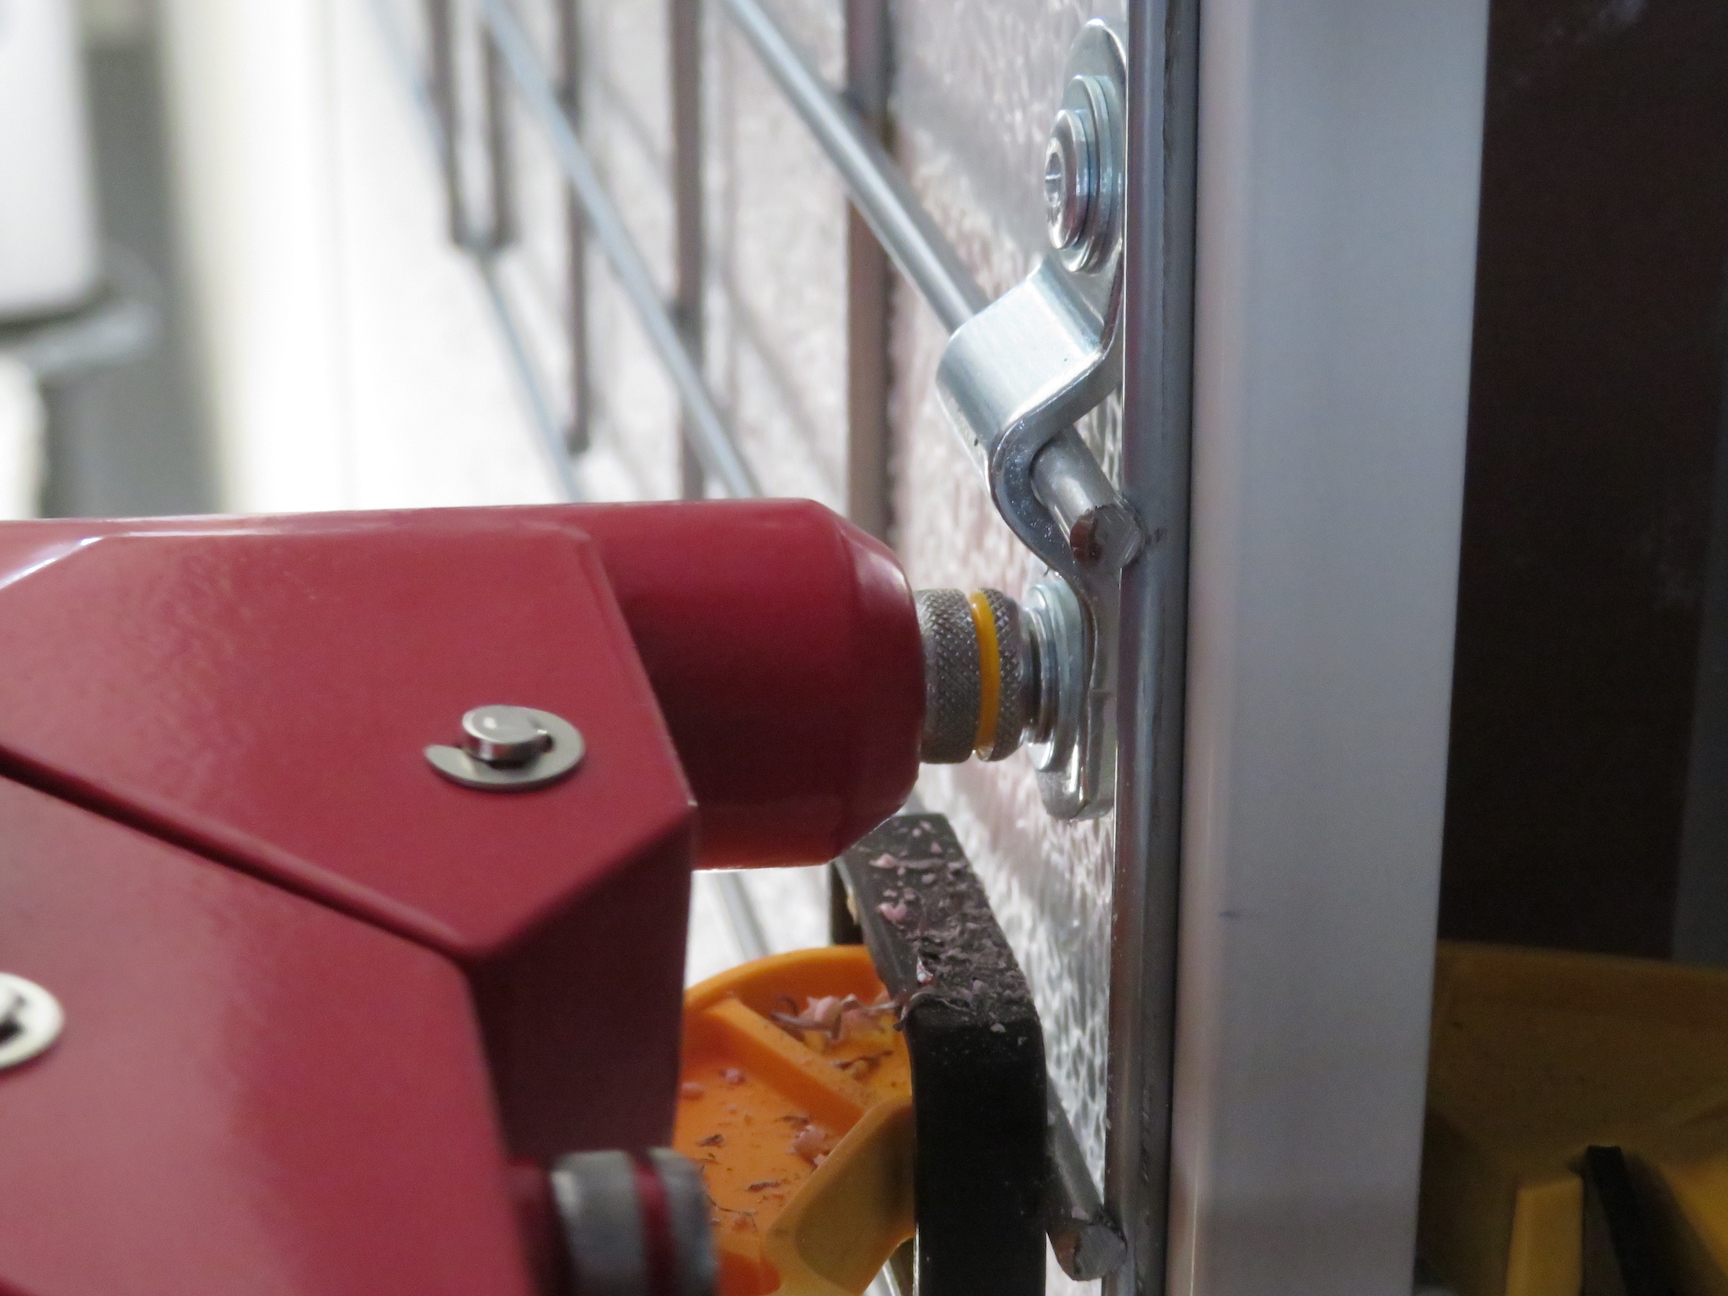 Given that we cannot penetrate any wall surface that holds pressure, we must carefully select the structure elements able to receive a bolt, metal screw, or rivet. We were able to reuse two former steel shelf grids, reduced in size, as a means to secure electrical conduit to the wall in such a way that it can be readily adjusted, even moved in the future.
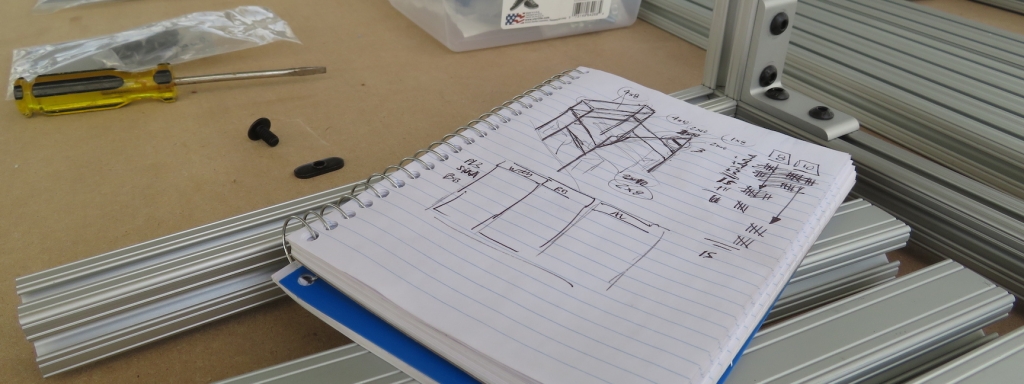
This past two weeks has seen a number of disparate tasks completed in parallel.
The two decades old shipping container serving as our Crew Quarters was designed to be air tight but not to hold pressure over time. This is compounded by skirmishes with forklifts that resulted in a few patches, bowed panels, and disconnected interfaces. As we have this past six months repaired the major leaks, smaller holes have been exposed. Our most recent pressure test discovered a leak at the overlapping seam between the stainless steel frame and aluminum ceiling roll at the back of the 40′ shipping container. Kai removed the failed rivet and drew open the enveloped just wide enough to inject 795 silicone. A new rivet drew the the interface tight again. Bindhu then scraped and cleaned the entire interface that spans the width of the container, followed by an application of aluminum tape with assistance from John Z. The entire perimeter of the wall-to-ceiling interface is now complete.
Kai and Sean worked to prepare for the installation of the electrical sockets in the workshop (20 foot container) with fabricated aluminum plates to give strength to the in-house designed, modular wall mount system. Subsequently, three 20 amp electrical circuits were installed. The original, exterior steel door to the Test Module was removed last fall, sanded, primed, and recently top-coated with Rust-Oleum white enamel paint, the same that now protects the entire exterior of the refurbished shipping containers and airlock. With new, steel bearing hinges, the door was replaced and is incredibly smooth in its operation, ready for three more decades of service.
Following several applications of PB Blaster over the prior week, Kai and John Z attempted (in vain) to remove an old “J” pipe fitting on the exterior of the B2 airlock installed at SAM last year. The 4 foot, 30 lbs wrench was apparently not large enough, and in the end the fitting was cut free, the remnant filled with foam, to be capped and sealed soon.
Arizona State University undergraduate student and new volunteer at SAM Tasha Coelho applied diligent attention to the final effort in restoration of the original Test Module lung. She scraped free all loose paint and then hand-sanded the underbelly of the pan in preparation for a coat of Rust-Oleum primer. Luna then applied two coats of a beautiful, dark blue-grey semi-gloss enamel.
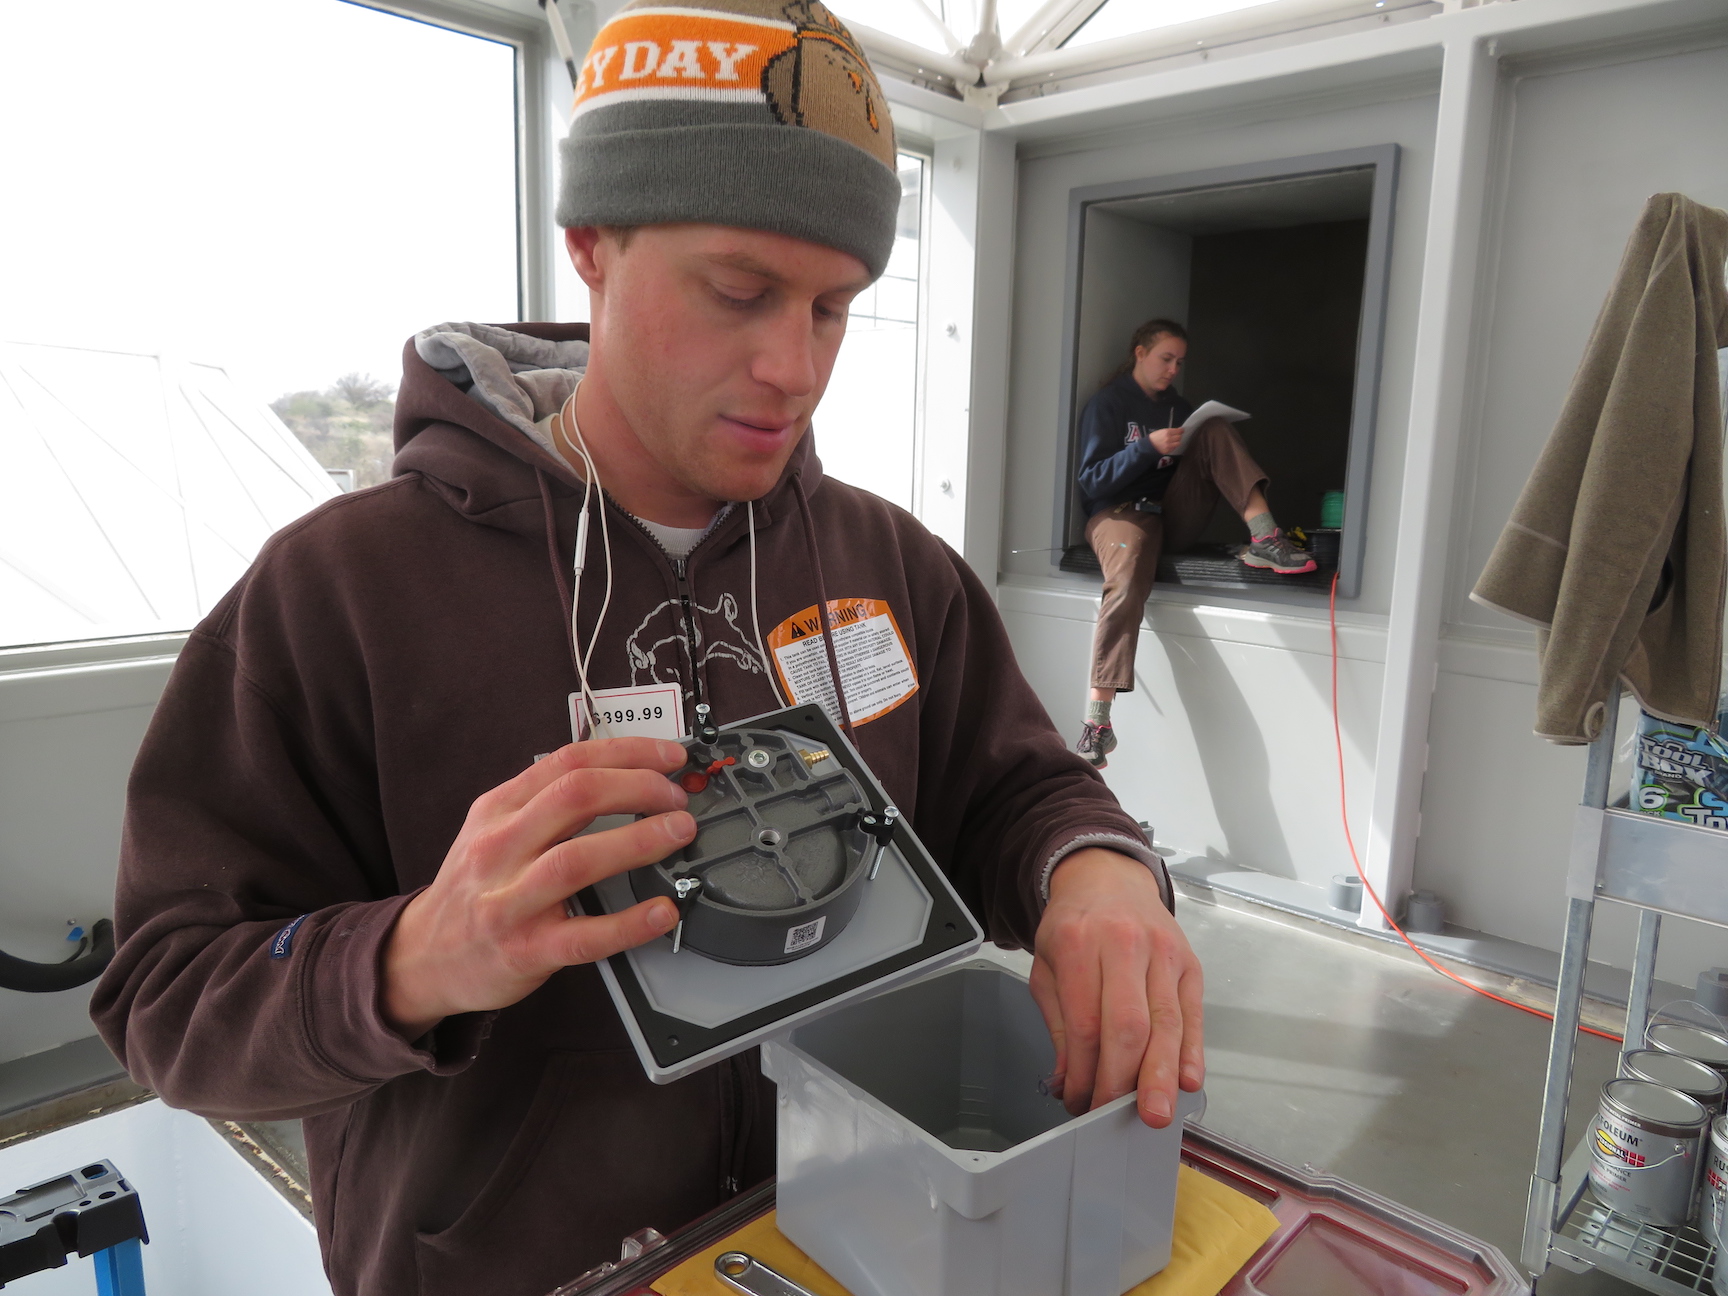
Sean and our new volunteer Matthias Beach tackled the installation of the new variable frequency drive (VFD) blower to inflate the lung and pressurize SAM. Matthias is a Former Air Force Computer and Switching Systems Specialist and citizen telecommunications field service specialist who brings skills in construction, electrical wiring, and equipment operation to this endeavor at a critical time. The VFD motor is 1 HP (as compared to the former blower of 1/3 HP) with a significantly larger blower which will result in our ability to inflate SAM in far less time than the former 15 minutes, and with the variable speed control, maintain a constant, minimal influx of air for those teams preferring to run SAM in either of the two pass-through modes.
In the midst of our third snow storm this winter, Matthias, Sean, Tasha, and Luna completed the wiring of the Test Module that was begun last year, with eight 20 amp circuits ready to handle the most arduous of hydroponic racks.


We are proud to announce that the University of Arizona Biosphere 2 and SAM will host the third annual Analog Astronaut Conference, May 4-7, 2023. The theme is “How analog research can be applied to the UNSDG”. If this year’s event is anything like the one prior, it will prove to be yet another extraordinary assembly of extraordinary people with skills, experience, and stories from around the world shared in a common, stunning space.
Visit the Analog Astronaut Conference website and see you soon!
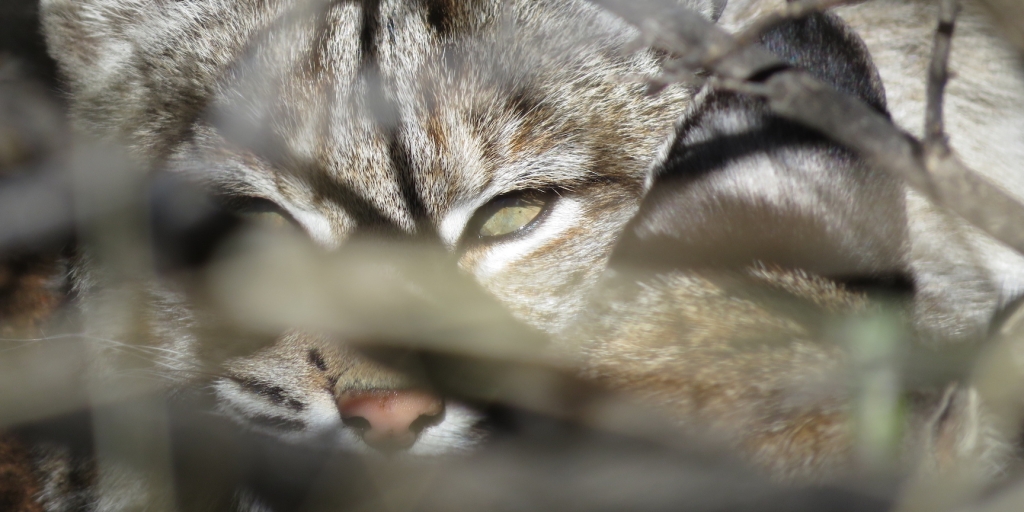
Some would say the bathroom is the single most important room in a Mars habitat. We agree. And as we work, adolescent bobcats watch our every move. Not very Mars-like, but very much a part of the southern Arizona experience.


In building SAM there are three primary objectives with each material chosen:
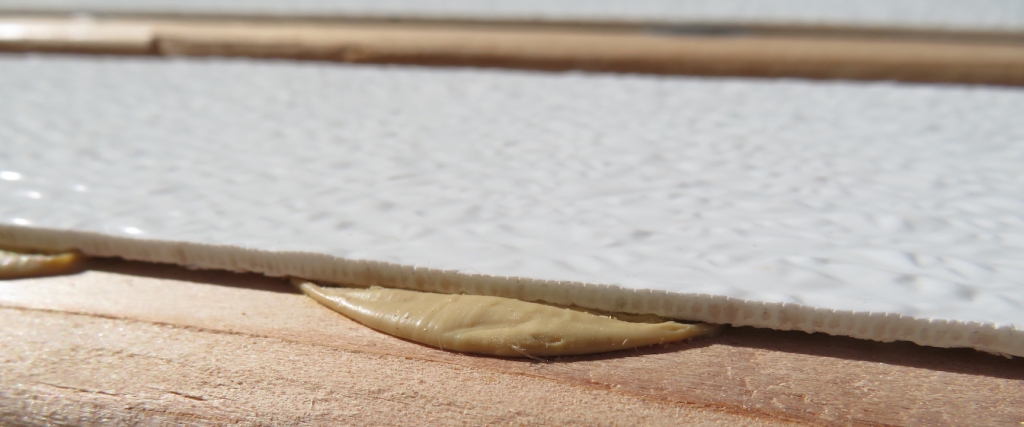
The SAM team has gained a deep understanding of working with metal, from cutting to cleaning, welding to grinding, primer, and paint, and with foam insulation panels and plastics too. The fiberglass reinforced panels (FRP) were installed in the 20 foot shipping container (SAM Workshop) over preformed Insofast panels. Given that the walls of the shipping containers cannot be penetrated for the potential of forming a leak, nor can the 40′ be welded due to the potential of melting the insulation between the stainless (interior) and aluminum (exterior) walls, adhesives must be employed. With a selection of dozens of brands and types, each of which carries its own marketing and promises, the SAM team has learned (sometimes the hard way) what works and what does not.
Silcone-base adhesives will adhere to most materials, but the final product is not a structure bond, the kind that can carry a load. While the Dow Corning 795 is foundational to the success of Biosphere 2, the Test Module, and SAM, it is not applied where load-bearing elements come to play (e.g. the shipping container wall, aluminum-based foam panels, and furring strips).
Loktite PL3 is the low-VOC adhesive recommended by Insofast and used in their instructional videos. While the final, cured product is stable and strong, it was learned that this product loses integrity when pressed too thin between the adhere layers. When pressed to a few thousandths of an inch, as is desired with wood glue, the product fails and the two layers can be separated by hand. But with the toothed ribs of the Insofast panels, the PL3 bead remains 1/8-1/4″ and provides substantial integrity, as marketed. However, this presents a challenge if the surface of bonded layer must remain parallel to the underlayment or even across multiple panels.
Sika Construction Adhesive is not found in the adhesives section of the local vendor, rather with concrete block and building materials. It is much thicker than PL3, gray in color, and does not appear to harden completely, rather it remains relatively flexible yet holds to a greater diversity of surfaces, including FRP. It is very difficult to work with, but holds to polystyrene where PL3 specifically states it cannot adhere to this medium.
Roberts 7200 Base Bond is a very different kind of product from the PL3 or Sika adhesives. It is much easier to work with, spreads with a toothed trowel and covers like oat paste. It is “zero” VOC (1g per liter according to the package) and has no odor when being applied. It provides quite a bit of working time in low temperatures, and can be cleaned up with water before it begins to harden. However, it must have at least one porous surface in order to form a bond, with the other surface designed for vinyl baseboard trim. The instructions make it clear that even a coat of paint on the wall must be removed in order for the paste to adhere to the wall board.
Tightbond III is the standard among woodworkers, the strongest of this family of wood glue products, and a staple in any wood shop. As the amount of wood in SAM is limited, it was used only to build the reinforced door frame and overhead beam that gives tremendous strength and stability to the nearly free-standing SAM bathroom.
Nashua Aluminum HVAC tape is what Mark Watney should have brought to Mars. It is one of the most versatile, capable products on the market, and the modern replacement for duct tape. While 795 and rivets have been used to seal more than 200 holes in the refurbished 40′ container (SAM Crew Quarters), it is aluminum tape that has properly secured the entire interface between the stainless steel walls and aluminum roof. We found it to be highly adhesive, malleable (to a limited degree), water resistant, and air tight.
This following test matrix was developed by SAM team member Luna Powell. All samples were tested at 24 hours, 3 days, and 5 days. The following summary is at the close of 5 days.
Adhesive Wood Backer Board Aluminum PL3 Cured to the point of not moving Strong, almost impossible to peel up Did not even adhere (at all) Sika Remains soft to the touch after ~5 days curing Remains malleable, not impossible to peel up Peeled up easily Base Bond Won’t shift side to side, but easy to peel up Readily peels up; did not stick to backer board Peeled up easily; wet in the middle
With bonded interfaces between dissimilar metals, metal to foam, foam to wood, wood to wood, and wood to polystyrene, the types of applied adhesives varies. This past month has seen a good bit of experimentation, some failure, and success with what is hoped to be a multi-decade solution. While there are certainly many more to explore, from off-the-shelf two-part epoxies to marine grade epoxies; from UV activated cements to fire resistant silicones, SAM has been built principally from what is immediately available from the consumer market.