

When Trent, Tim, Terry, John and I dove into the refurbish of the Biosphere 2 Test Module the last week of January, we were overwhelmed by the scope of what lay before us. The lists guiding our effort week to week grew as we discovered projects within projects, as only the hidden gems of a remodel can do.
Yet each day we felt accomplished. Broad, sweeping strokes of physics labor left visible imprints on the landscape of the SAM construction site. Removing the old heat exchanger, cutting up electrical conduit and wiring, and the sanding and painting of the exterior. Physically exhausted, sore hands and feet, each day of tearing down was a day closer to building again.
Then there was a middle time when we were continuing to remove the old while installing the new. Those days were also satisfying, but the effort to find particular parts and assemblies grew to consume as much time as the application or installation itself.
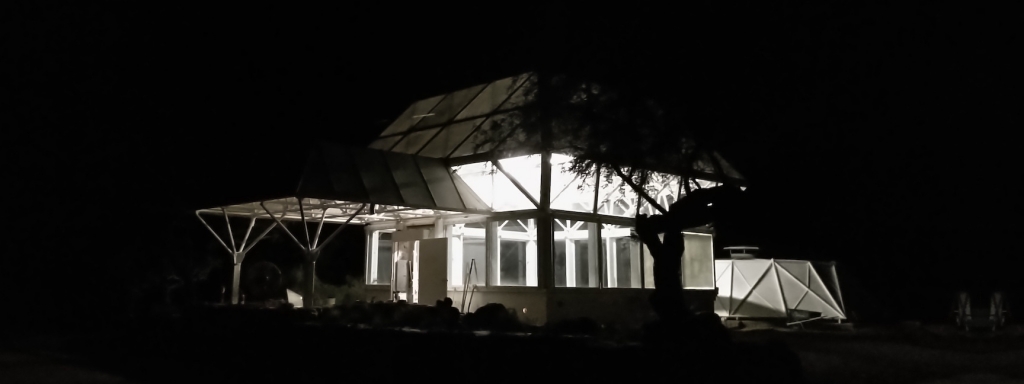
Now, with just one month to go until our first round of funding is complete and our deliverable of a complete first stage due, the project is terribly exciting and sometimes equally frustrating. So many loose ends are coming together! Yet the pieces that remain are complex and multi-faceted, not just a coat of paint or a trench dug to a certain depth. We are down to the stuff that will make or break the function of SAM—determine if SAM will work as a sealed vessel able to hold it’s atmosphere, or lose pressure more quickly than anticipated.
We are now focused on the re-seal of the lung and windows on the west side of the Test Module, install of the mini-split A/C units, and preparation for the first pressure and CO2 levels test. At this critical stage, it feels good to look back since January 20 and appreciate all we have accomplished:
– initial repair (grinding, sanding) of the lung plate
– prep and apply silicone elastomeric to the external top of the lung shell
– prep and first coat of paint of the external, vertical lung shell
– remove debris from the interior of the lung shell
– remove metal ring segments that bound the membrane to the lung plate
– power wash and scrub EPDM membrane
– extensive research into paints for interior, exterior
– cleaning, cleaning, and more cleaning of the Test Module
– removal of the original data collection boxes and visitor signage
– grinding, sanding, and 2 coats primer to the TM base
– removal of the massive heat exchanger and steel platform
– removal of all electrical components; rewiring of the panel
– seal 21 ports and refurbish of the gas exchange manifold
– removal of the two grow beds and wood floor
– scraping, brushing, cleaning (3x) the stainless steel floor
– removal of all former data collection devices and cabling
– pressure wash the entire TM exterior; hand-scrub windows
– application of silicone membrane to the top of the TM
– sand entire interior of the TM; prime primary support beams
– test of window films for closest approximation to lightfall on Mars
– acquisition of a CO2 scrubber from Paragon
– full pressure suit test with Dr. Cameron Smith, Portland State
– removal of the original computer terminal outside the TM
– removal of two dozen root balls from the surrounding yard
– drain water from steel beams; mitigate rust
– apply silicone elastomeric to top and 45 degree windows on the TM
– apply seam seal and acrylic elastomeric to the TM porch roof
– shuffle four windows on the west side of the TM in prep for window tint and re-seal
– apply window tint, reducing optical light by 50% to match that on Mars
– grind and sand the lung ring segments
– attach unistrut and electrical disconnects to the south wall of the TM
– attach unistrut mounts for electrical and water walls
– move a birds nest to save the chicks from construction
– dig a ditch from the 200A electrical panel to the TM to power the HVAC
– pour a new concrete footing for the 200A electrical panel
– pour a concrete slab on the south side of the TM, to the lung
– remove all old threaded studs from the lung plate
– weld all new threaded studs to the lung plate
– remove lung inflation blower, clean, and test
– initiate removal of the five failing greenhouse structure in prep for our Mars yard
– continued development of the Mars yard
– design and initial development gravity off-set rig
– research into the type and cost of shipping containers (quarters)
With the close of May we completed the installation of the new power feed that will bring electricity to the mini-split heat pumps (heating, cooling for the TM) and eventually, to the living space for the inhabitants. We also removed the lung inflation blower, cleaned, and tested this thirty year-old fan. It works perfectly! Next, we will build a rig to attach the motor in a new location, adjacent to the lung itself instead of in the former, boiler building.


